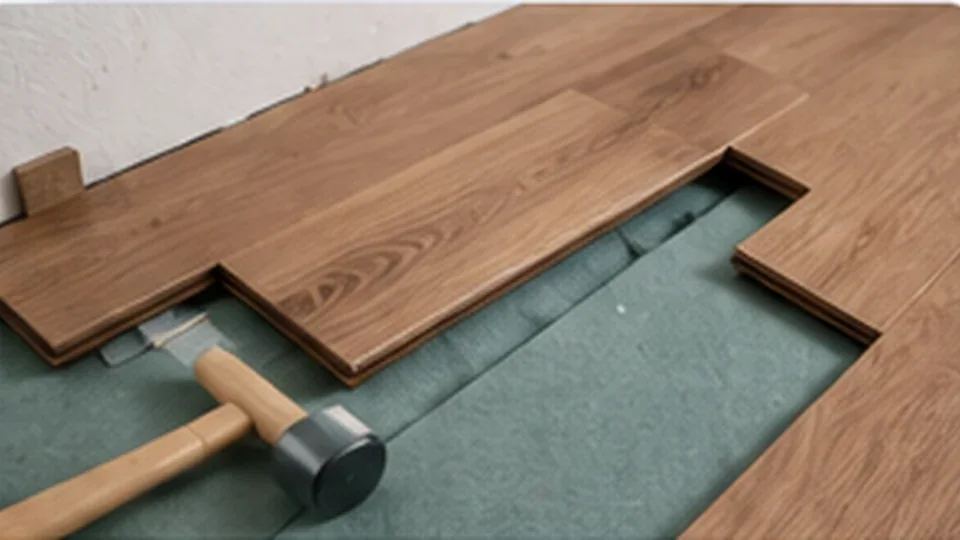
Step 1: split the floor into rectangles that do not overlap
An L-shaped room is easiest to measure when you stop trying to find one “length” and one “width.” Draw the floor from above and divide the L into two rectangles. In our example, Rectangle A is 14 ft × 11 ft and Rectangle B is 6 ft × 4 ft. The rectangles meet at an edge but do not overlap.
Area A is 154 sq ft. Area B is 24 sq ft. Add them: the measured floor area is 178 sq ft. If there is a closet that will receive the same flooring, treat it as another rectangle. If a fixed cabinet or island occupies part of the room, do not subtract it until you have checked the flooring manufacturer’s installation rules.
Step 2: choose waste based on layout—not habit
Waste covers end cuts, boards that cannot be reused, defects, pattern alignment and pieces saved for future repairs. A simple plank direction in a room with long straight runs usually wastes less than diagonal installation, herringbone, many doorways or a layout with several narrow returns.
For this example, assume the product guidance and planned layout support a 10% allowance. Multiply 178 by 1.10 = 195.8 sq ft. That number is an estimate of material area, not yet a purchase quantity.
Step 3: convert area to cartons and round only at the end
Assume the flooring carton covers 23.6 sq ft. Divide 195.8 by 23.6 = 8.30 cartons. You cannot buy 0.30 of a sealed carton, so the purchase becomes 9 cartons. Nine cartons provide 212.4 sq ft, leaving about 16.6 sq ft above the waste-adjusted estimate.
| Calculation | Result |
|---|---|
| Rectangle A: 14 × 11 | 154 sq ft |
| Rectangle B: 6 × 4 | 24 sq ft |
| Measured floor area | 178 sq ft |
| After 10% allowance | 195.8 sq ft |
| Coverage per carton | 23.6 sq ft |
| 195.8 ÷ 23.6 | 8.30 cartons |
| Purchase quantity | 9 cartons |
Step 4: separate installation allowance from repair stock
Nine cartons supply 212.4 sq ft, which is 34.4 sq ft more than the measured 178 sq ft room. Of that difference, 17.8 sq ft is the example’s 10% installation allowance and 16.6 sq ft comes from rounding to whole cartons. Neither number tells you how many intact spare planks will remain: offcuts may be too short or have the wrong edge for a later repair.
| Example allowance | Area to order | Cartons at 23.6 sq ft |
|---|---|---|
| 5% | 186.9 sq ft | 8 cartons = 188.8 sq ft |
| 10% | 195.8 sq ft | 9 cartons = 212.4 sq ft |
| 15% | 204.7 sq ft | 9 cartons = 212.4 sq ft |
| 20% | 213.6 sq ft | 10 cartons = 236 sq ft |
These percentages compare the arithmetic; they are not recommendations for a particular floor. Notice that changing from 10% to 15% does not change the carton count here, while 20% does. The required allowance still comes from the layout and product instructions.
If you deliberately want one unopened carton reserved for repairs, list it separately: nine installation cartons plus one reserved carton means ten cartons purchased in this example. Do not count the same spare stock once in the allowance and again in a separate reserve without checking the total.
Check the sketch a second way
For a sketch with the 6 × 4 ft alcove attached along 6 ft of the main rectangle’s 14 ft edge, the outside rectangle is 14 × 15 ft. The missing corner is 8 × 4 ft. Subtracting gives (14 × 15) − (8 × 4) = 178 sq ft, matching 154 + 24. This cross-check applies to that arrangement; rotate or reposition the alcove on your sketch before using it for your room.
Keep the product code and batch details with usable spare planks. Store them as the manufacturer specifies. Use the flooring calculator to repeat the carton calculation with your actual coverage.
Step 5: make a cut plan around the narrowest areas
Area math alone does not tell you whether the layout is sensible. Before opening cartons, identify the narrowest wall return, doorway and final row. Many flooring systems have minimum end-joint offsets, minimum piece widths or expansion requirements. Use the exact product instructions and adjust the starting line so you do not end with an impractically thin strip.
A room can have enough square footage and still be poorly planned. If the first row starts with a full plank and the final row would be a tiny sliver, reducing the first row width may create a more balanced installation. This layout decision can slightly affect waste.
Step 6: keep transitions and underlay out of the carton calculation
Floor area tells you how much surface material you need. It does not automatically include underlay, vapor-management layers, transition profiles, stair nosings or perimeter trim. List those separately because their units are different. Underlay may be sold by area, transitions by length or piece, and trim by linear length.
Why separate lists matter
If you discover that the floor already has an attached pad and the manufacturer prohibits extra underlay, you can remove one line from the accessory list without changing the 9-carton flooring calculation. Modular estimates are easier to correct.
Common measurement failures
- Using the bounding rectangle: multiplying the overall longest length by overall widest width includes the missing corner of the L.
- Applying waste before adding all rooms: calculate the connected area first unless different spaces have genuinely different layouts.
- Rounding each rectangle upward: this can inflate the total. Keep precision until the carton stage.
- Ignoring doorways and closets: include every area that receives the same floor.
- Assuming carton coverage: use the exact coverage printed for the product you are buying.
Measurement sheet
- Sketch the L-shape
- Label Rectangle A and Rectangle B
- Measure each dimension twice
- Add any closets or connected recesses
- Total the net area
- Choose waste based on pattern and room shape
- Enter exact carton coverage
- Round cartons up once
- Plan narrow rows and door transitions
- Store useful matching leftovers
Frequently asked questions
Is 10% waste always enough?
No. It is only the assumption used in this worked example. Pattern, room geometry, product defects and manufacturer recommendations can justify a different allowance.
Should I measure under cabinets?
Measure the room, then follow the exact installation requirements for fixed cabinetry. Some floating floors should not be trapped under fixed units.
Can I combine several rooms into one calculation?
Yes when they use the same product and layout assumptions. Keep each room’s net area visible so you can still audit where the total came from.