Make a squeak map
Walk the room slowly while another person marks the exact points where sound begins and ends. Test the same path with different foot positions. A squeak confined to one board edge behaves differently from a broad noisy zone. Mark walls, doorways, joist direction if known, and any heavy furniture or built-ins.
Record whether the sound occurs under a single footfall, only when weight shifts side-to-side, or when several boards flex together. This tells you more than a video of the noise alone.
Use timing as evidence
If the sound appears only in a dry season or after heating/air-conditioning changes, material movement may be part of the pattern. If it begins immediately after new flooring, a renovation detail deserves attention. If it follows a leak or moisture event, do not treat it as an ordinary nuisance until the substrate condition is understood.
Identify the likely moving interface
| Observation | Possible interface to investigate |
|---|---|
| One board edge clicks/rubs | Finished-floor joint or local fastener |
| Broad area deflects | Subfloor/support condition |
| Noise near wall only | Perimeter contact, trim or flooring movement |
| Noise from below as floor loads | Subfloor-to-framing connection |
Observe movement before touching fasteners
Place a straightedge or other visual reference safely across the area and watch whether the surface moves under load. From a safe accessible level below, if available, a second person may be able to see movement between components. Do not enter unsafe crawlspaces or open electrical/plumbing areas simply to chase a squeak.
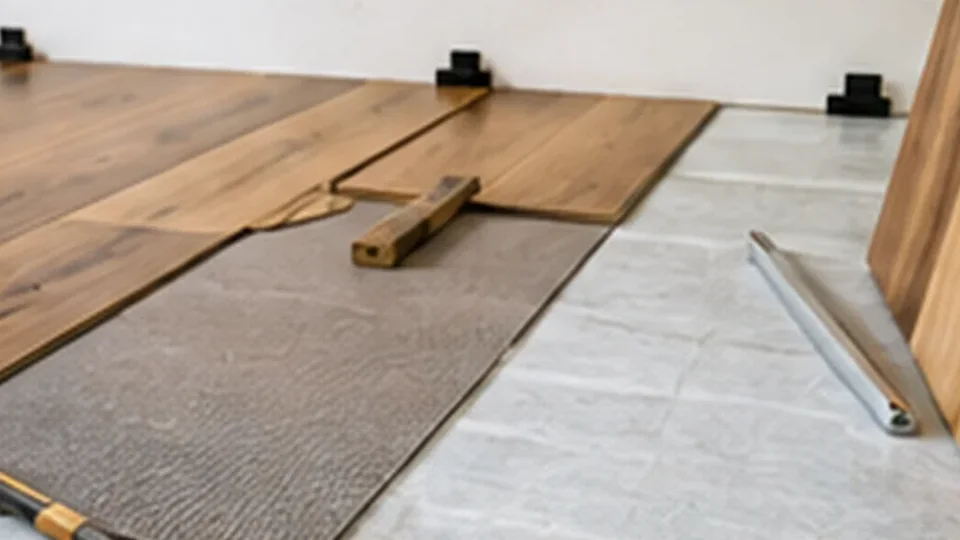
Example: noise appeared after floating floor installation
The squeak follows a short line across a doorway, the floor feels slightly springy there, and the installation is only weeks old. Before adding screws, inspect the transition detail and substrate flatness requirements for the flooring system. Fastening through a floating floor can create a new movement restriction.
Why random face-screwing is a poor first repair
A screw can silence one moving interface while damaging a floating floor, piercing hidden services, creating a visible defect or missing the framing entirely. The appropriate fastener and direction depend on the construction. If you cannot identify what lies below the point, diagnosis should stop before drilling.
When access from below changes the options
Where an unfinished basement or crawlspace provides safe access, the structure can sometimes be observed without disturbing the finished surface. That may help distinguish subfloor movement from a finish-floor joint. Access does not automatically make the repair DIY-safe; hidden electrical, plumbing, insulation and structural conditions still matter.
Squeak log
- Exact location marked on room sketch
- Sound type: squeak, click, pop or creak
- Load direction that triggers it
- Season/weather when strongest
- Recent flooring or moisture changes
- Visible surface movement
- Known floor construction
- Safe access from below: yes/no
- Manufacturer instructions checked for finished floor
- No fastener added until hidden-service risk is understood
Run three repeatable tests
Noise is easier to diagnose when the loading is repeatable. First, step vertically on the marked point without twisting your foot. Second, shift weight sideways across the nearest board or plank joint. Third, repeat the test a short distance away on a quiet area for comparison. Write down which motion produces the sound and whether you can feel movement at the same moment.
If two people are available, have one create the load while the other listens from a different position. Sound can travel through framing and make the apparent source misleading. A point that sounds loudest from above may not be where the components are actually moving.
Use a simple decision path before opening anything
- New moisture or visible damage? Stop treating the noise as cosmetic and investigate the building condition first.
- Noise began immediately after flooring work? Review the installation, transition and substrate requirements for that system.
- One narrow surface joint makes the sound? Focus on the finish-floor interface before assuming framing movement.
- A broad area flexes or the noise is clearer from below? Subfloor/support investigation becomes more relevant.
- Construction is unknown? Do not add fasteners simply to test a theory.
Record whether the sound is changing
A stable squeak that has sounded the same for years is a different information pattern from a noise that appeared after a leak, is spreading across the room, or is accompanied by increasing deflection. Date the squeak map and repeat it after a weather change or after nearby work. Change over time helps prioritize the investigation without pretending that sound alone diagnoses structural condition.
Frequently asked questions
Can baby powder stop a squeak?
Temporary friction-reducing tricks may change some surface noises, but they do not diagnose structural or subfloor movement and may be unsuitable for the flooring finish.
Does every squeak mean structural damage?
No. Many are movement between otherwise serviceable components. New, rapidly changing or visibly deflecting conditions deserve more careful investigation.
Should I replace the floor because it squeaks?
Not until the moving interface is understood. Replacing finish material over an unresolved substrate problem can reproduce the noise.