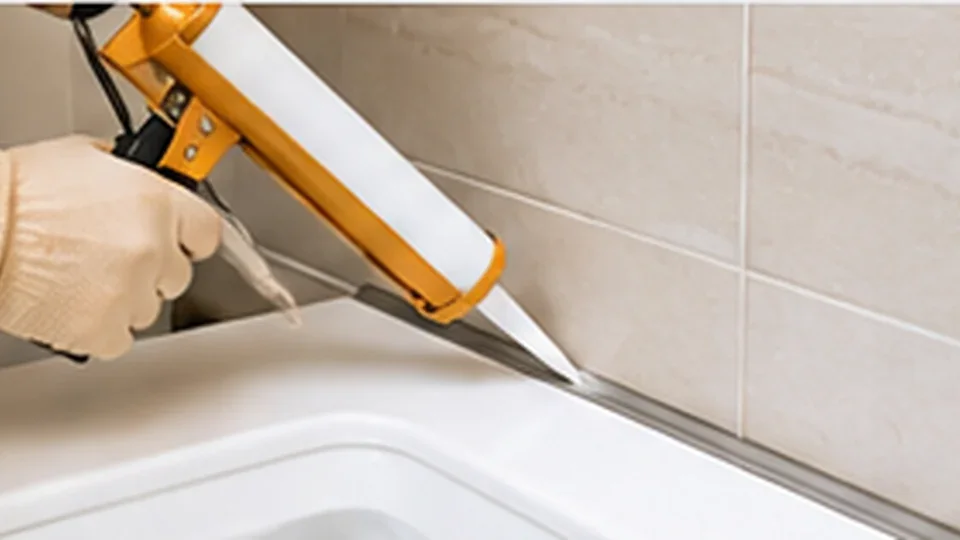
Map the joint before buying a tube
Record what two materials meet at the joint, whether they are on the same plane or a change of plane, whether the joint moves with temperature or use, and whether it is exposed to water, cleaning chemicals or sunlight. A shower corner, window perimeter and baseboard gap may all look like “a line to fill,” but they are different systems.
Rigid joints and movement joints solve different problems
Grout is appropriate between tiles where the tile system is designed for it. Corners and changes of plane can move differently as walls, floors and fixtures respond to temperature, moisture and load. Many tile systems therefore use a compatible flexible sealant at specified movement locations rather than rigidly grouting every visible gap.
Follow the tile/installation-system guidance for movement joints. Replacing failed flexible material with rigid filler simply because the colors match can transfer movement into cracking elsewhere.
“Caulk” and “sealant” labels are not enough
Products vary by chemistry, flexibility, adhesion, paintability, mold resistance, temperature range and whether they are designed for constant water exposure. Read the intended-use list. A paintable acrylic product for dry interior trim is not automatically appropriate in a wet shower joint, and a bathroom silicone may not be paintable where trim will receive finish coats.
| Joint example | Main question | Typical material characteristic |
|---|---|---|
| Tile field joints | Is this part of the designed grouted field? | Compatible grout system |
| Tile corner/change of plane | Does the system require a movement joint? | Compatible flexible sealant |
| Painted trim to wall | Small cosmetic movement and paintability? | Paintable flexible interior sealant/caulk |
| Exterior window perimeter | Weather exposure, substrate adhesion, designed drainage? | Exterior-rated compatible sealant used without blocking drainage paths |
Do not seal a symptom before finding the water path
A wet window sill, stained wall or shower leak may tempt you to add sealant to every visible crack. That can trap water or block intentional drainage openings. First identify where water is supposed to go and which joints are actually part of the weather/water-management system.
Example: resealed shower corner keeps failing
The corner sealant separates again within months. Before applying another bead, check whether the surfaces were clean/dry, whether old residue was removed, whether the joint is too large or moving, and whether the product is compatible with both surfaces. Repetition without diagnosis can produce layers of material with poor adhesion.
Preparation often matters more than brand
New sealant needs a sound, clean, appropriately dry surface. Applying over soap residue, loose old material or trapped moisture reduces the chance of a durable bond. Remove failed material using methods that do not damage the surrounding surface, then prepare according to the product instructions.
Joint geometry can also matter. Some sealants are designed for specific width/depth proportions or use with backing material in larger joints. Filling a deep void solid with sealant may not produce the movement profile the product was designed for.
Color matching is the last decision
Choose chemistry and compatibility first, then color. A perfectly matched product that does not adhere or tolerate the exposure is a poor repair. Keep the product name and batch/color information with your maintenance records for future touch-up.
Joint decision checklist
- Identify both materials at the joint
- Same plane or change of plane?
- Expected movement?
- Wet, dry, exterior or submerged exposure?
- Paintability required?
- Existing material type identified where possible
- Leak/water path understood
- Old loose material removed
- Surface prepared per product instructions
- Joint width/depth compatible with product
Think in terms of joint behavior
Before opening a tube or bag, describe the joint in one sentence: “two rigid tiles on the same plane,” “tile meeting a tub that can move independently,” “painted trim meeting drywall,” or “exterior materials exposed to sun and rain.” That sentence is more useful than the color of the old filler because it identifies whether the joint is expected to move and what surfaces the replacement must bond to.
| Joint question | Why it matters |
|---|---|
| Do the two sides move differently? | Movement favors a compatible flexible joint treatment where the system calls for it |
| Is the joint part of a tiled field? | Rigid grout may be appropriate only where the installation detail permits it |
| Is it continuously wet or only occasionally splashed? | Exposure changes the product requirements |
| Will the joint be painted? | Paintability and cure instructions become part of the selection |
| Is the old failure hiding water entry? | Repair the water path instead of cosmetically sealing over it |
Photograph the joint before removal
A close photo and a wider context photo preserve useful clues: where cracking starts, whether both sides remain bonded, whether staining follows gravity, and whether the gap width changes along the run. Once the failed material is scraped out, some of that evidence disappears.
For tiled assemblies, movement-joint details are system-specific. The Tile Council of North America explains why temperature, moisture, substrate movement and changes of plane affect movement-joint planning: TCNA movement-joint FAQ.
Frequently asked questions
Can I put new silicone over old silicone?
New material often adheres poorly to contaminated or failed old sealant. Preparation requirements vary, but simply layering over failure is rarely the best long-term method.
Can I grout a shower corner?
Movement-joint requirements depend on the tile system and local practice. Many systems use flexible sealant at changes of plane. Follow the relevant installation guidance.
Why does trim caulk crack after painting?
Joint movement, product flexibility, gap size, surface preparation and cure time can all contribute. Identify whether the joint is moving beyond what the material can handle.